Introduction
As part of my WordPress Technical Support Engineer Training, after completing the environment setup on Day 1, today’s focus was to install and configure a full-fledged Integrated Development Environment (IDE) using Visual Studio Code, set up Z Shell (Oh My Zsh) for a faster command-line workflow, and explore the basics of Git and SVN.
Tools Installed & Configured
- Visual Studio Code
- WordPress Playground Extension
- Z Shell + Oh My Zsh
- Git & SVN
1. Installing Visual Studio Code
1️⃣ Downloaded and installed VS Code from https://code.visualstudio.com.
2️⃣ Installed essential extensions for WordPress development: https://marketplace.visualstudio.com/items?itemName=WordPressPlayground.wordpress-playground
- WordPress Playground (launch WordPress instantly inside VS Code)
We can install the following extensions too if we need:
- PHP Intelephense
- Prettier – Code Formatter
- GitLens – Git super-charged
- ESLint
- Markdown All in One
- Live Server
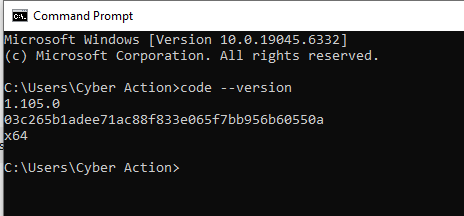
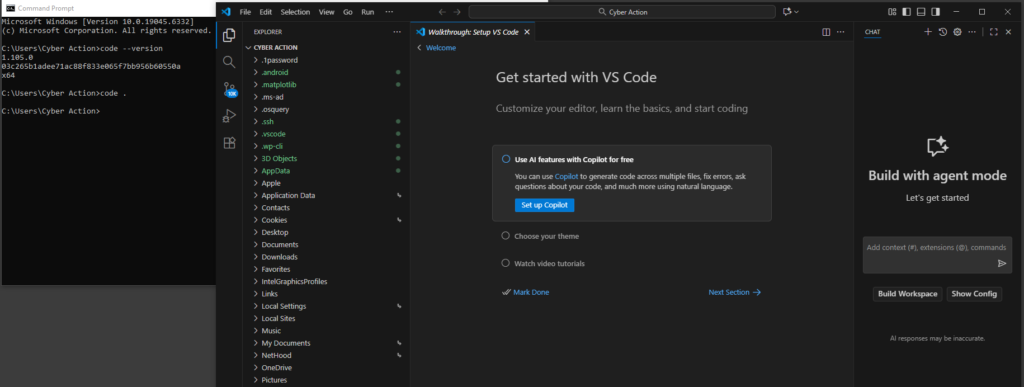
3️⃣ Verified installation via terminal:
code --version
4️⃣ Opened the local project folder directly in VS Code:
code .
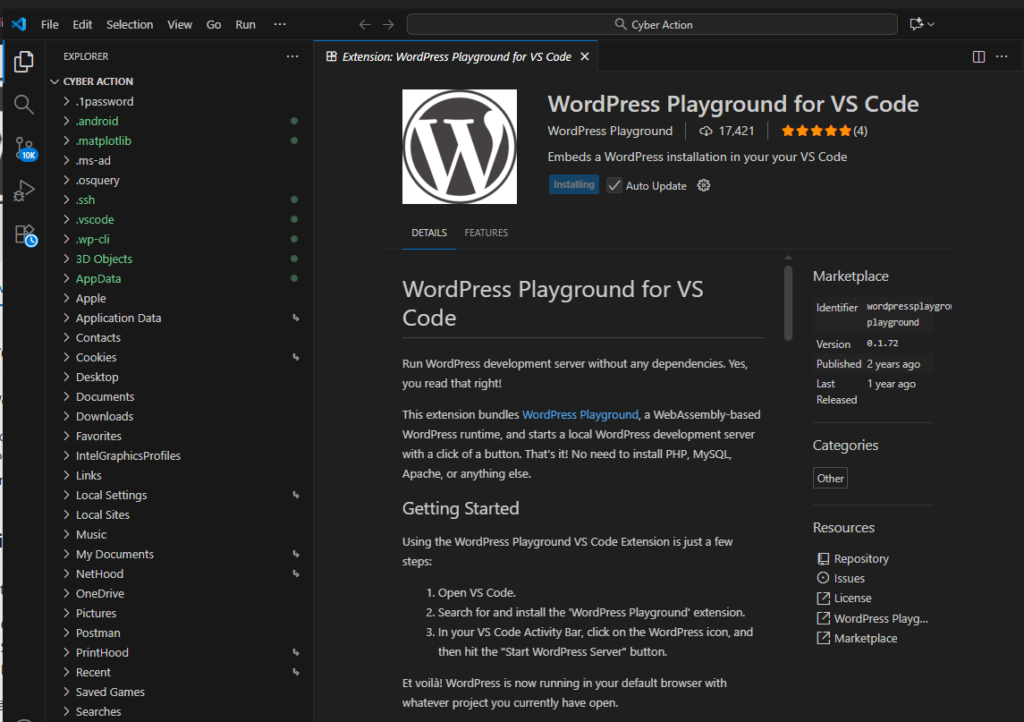
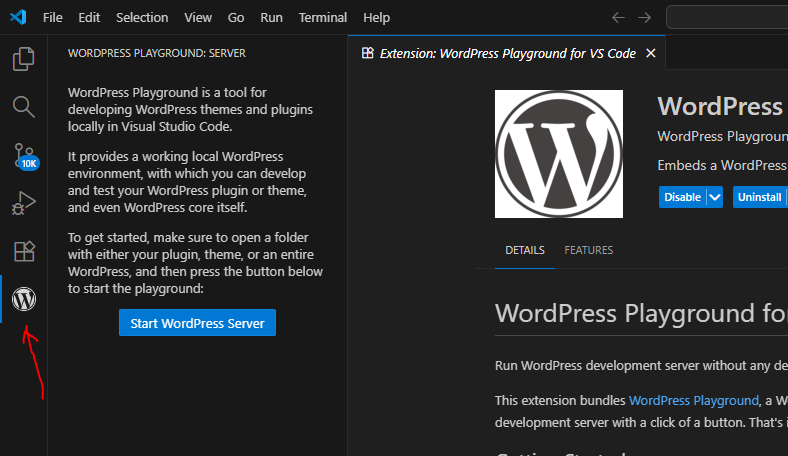
2. Using WordPress Playground Extension
The WordPress Playground extension lets you spin up a full WordPress site inside VS Code without installing PHP or MySQL.
Steps:
1️⃣ Open VS Code → Extensions → Search WordPress Playground → Install.
2️⃣ Click the WordPress icon in the Activity Bar.
3️⃣ Select Start WordPress Server.
4️⃣ It opens your project in a browser with a live WP environment. This is perfect for quick plugin or theme testing.
” If the extension doesn’t start on Windows, keep LocalWP as a fallback that we created in day 1.
3. Setting Up Z Shell (Zsh) and Oh My Zsh
To improve terminal speed and readability, I installed Zsh and configured Oh My Zsh for plugins and themes.
Installation commands:
sudo apt install zsh -y chsh -s $(which zsh)
Install Oh My Zsh:
sh -c "$(curl -fsSL https://raw.githubusercontent.com/ohmyzsh/ohmyzsh/master/tools/install.sh)"
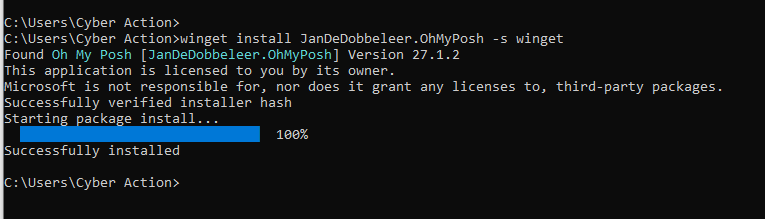
For windows:
Zsh is does not natively support Windows. Instead, we can try Oh My Posh.
In short:
- 🧩 Zsh & Oh My Zsh → Need Linux/macOS or WSL.
- ⚙️ Oh My Posh → Windows-friendly equivalent with similar benefits.
winget install JanDeDobbeleer.OhMyPosh -s winget
Recommended plugins (I did not try these but good if you want to explore a bit):
- git
- z
- autojump
- zsh-autosuggestions
- zsh-syntax-highlighting
| Feature / Aspect | Zsh (Z Shell) | Oh My Zsh |
|---|---|---|
| Type | Command-line shell (replacement for Bash) | Framework / configuration manager for Zsh |
| Purpose | Provides an enhanced shell environment | Simplifies managing Zsh configuration, themes, and plugins |
| Installation | Installed as a standalone shell using package manager (sudo apt install zsh) | Installed after Zsh via a curl or wget script |
| Default Features | Basic improvements over Bash: better tab completion, spelling correction, globbing | Ships with 100+ themes and 200+ plugins pre-configured |
| Configuration File | Uses ~/.zshrc (manual editing needed) | Also uses ~/.zshrc, but auto-populated with friendly defaults |
| Customization | Fully manual (you add aliases, prompt styles, functions yourself) | Managed via simple edits — enable/disable plugins and themes easily |
| Themes | None by default (plain prompt) | Comes with many built-in themes like robbyrussell, agnoster, powerlevel10k |
| Plugins | Must install and configure manually | Includes plugin system — just add names in plugins=(git z ...) |
| Ease of Use | Requires manual setup and knowledge of config syntax | Ready-to-use immediately after install; beginner-friendly |
| Performance | Slightly faster since it loads fewer scripts | Slightly slower at startup because of extra plugins and themes |
| Best For | Power users who want full control | Developers who want a quick, beautiful, and feature-rich shell |
| Example Installation | sudo apt install zsh | sh -c "$(curl -fsSL https://raw.githubusercontent.com/ohmyzsh/ohmyzsh/master/tools/install.sh)" |
4. Introduction to Git and SVN
I explored how Git and SVN work, focusing on core commands.
I already covered Git and Git CLI installation yesterday here
Git basics:
git init
git clone <repo-url>
git add .
git commit -m "Initial commit"
git branch feature
git checkout feature
git merge feature
git push origin main
SVN overview: SVN is centralized version control, while Git is distributed.
Understanding this helps when working with older WordPress plugin repositories that still use SVN for releases.
🧭 Course Relevance Note
While exploring today’s and yesterday’s topics, I realized that some sections such as NVM, Composer, Zsh setup and the Git commands and Git quiz are more developer-oriented than necessary for a WordPress Technical Support Engineer.
These parts are useful for developers who:
- Commit code regularly
- Work inside CI/CD or staging environments
- Handle pull requests or deployments
However, since a support engineer’s main focus is troubleshooting, debugging, and communication, (sometimes providing small qucik PHP snippets) these topics are not essential for daily work.
So, I decided to skip those for now and continue focusing on the areas that directly strengthen technical support skills.
📘 Additional Module
After wrapping up the main tasks of Day 2, I also completed the Web Basics module, which covered:
- Domain Name System (DNS)
- HTTP / HTTPS
- How the Web Works
- Browser and Rendering Engines
- Web Servers
- Emails
Since I already knew many of these from past experience, it served as a quick refresher and took about an hour.
For readers unfamiliar with these topics, you can simply google these topics.
📮 Note for WordPress devs and testers:
You can use MailPit locally to capture outgoing emails (contact form notifications, WP emails) without sending them externally. It’s a safe and practical tool for testing.
💡 What I Learned Today
- A proper IDE setup makes daily WordPress work smoother and saves a lot of time.
- WordPress Playground can instantly launch a test site inside VS Code without any server configuration. This is ideal for quick plugin or theme checks.
- Zsh / Oh My Zsh are optional for support engineers; helpful for command-line comfort but not mandatory.
- Git knowledge is useful but not essential for roles that don’t touch codebases or deployments.
- The key takeaway is to focus learning on debugging, troubleshooting, and communication, rather than deep developer workflows.